Cheese Danishes
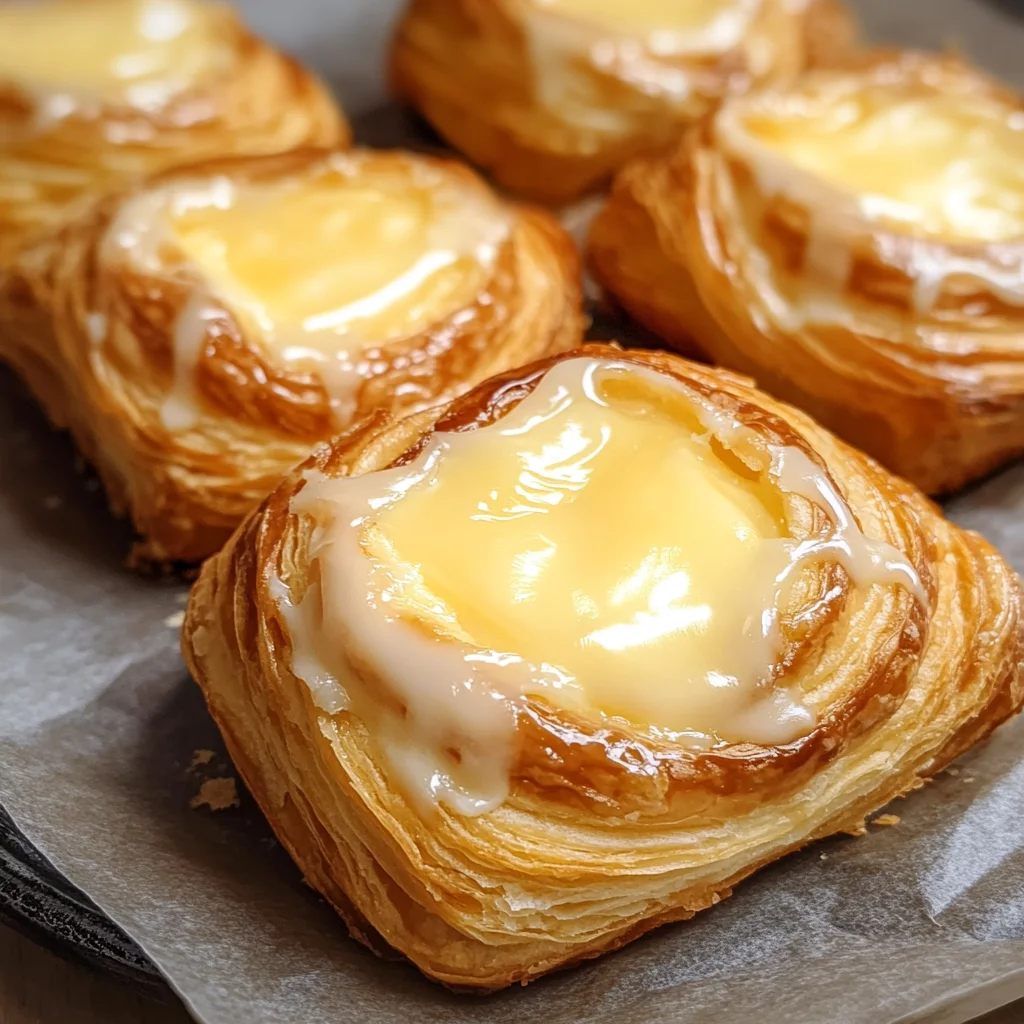
Flaky, buttery pastry wrapped around a rich, sweet cream cheese filling—Cheese Danishes are a delightful treat perfect for breakfast, brunch, or dessert. These pastries not only hold a creamy center but also offer a crispy golden exterior that makes them irresistible. Their versatility allows for various fillings and toppings, making them suitable for any occasion, from casual family breakfasts to festive gatherings.
Why You’ll Love This Recipe
- Easy to Make: With store-bought puff pastry, you can whip up these delicious treats in no time.
- Rich Flavor: The combination of cream cheese and vanilla creates a luscious filling that melts in your mouth.
- Versatile Options: Customize your Cheese Danishes with fruit jams or other fillings to suit your taste.
- Perfect for Any Occasion: Whether it’s a holiday brunch or an afternoon snack, these pastries are always a hit.
- Great Leftovers: These danishes can be stored and reheated, making them perfect for meal prep.
Tools and Preparation
To make these delicious Cheese Danishes efficiently, having the right tools is essential. Here’s what you’ll need:
Essential Tools and Equipment
- Baking sheet
- Parchment paper
- Rolling pin
- Mixing bowl
- Whisk or electric mixer
Importance of Each Tool
- Baking sheet: A sturdy baking sheet ensures even cooking and prevents any spills from making a mess in your oven.
- Parchment paper: Using parchment paper helps prevent sticking and makes cleanup easier after baking.
- Rolling pin: A rolling pin allows you to roll out the puff pastry evenly for perfect shapes.
Ingredients
For the Pastry
- 1 sheet puff pastry, thawed (from a 17 oz package)
- 1 egg, for egg wash
- 1 tablespoon water
For the Filling
- 8 oz cream cheese, softened
- ¼ cup granulated sugar
- 1 teaspoon vanilla extract
- ½ teaspoon lemon zest, optional (for brightness)
For the Glaze (optional)
- ½ cup powdered sugar
- 2–3 teaspoons milk
- ¼ teaspoon vanilla extract
How to Make Cheese Danishes
Step 1: Prepare Pastry
Preheat your oven to 400°F (200°C) and line a baking sheet with parchment paper. Roll out the thawed puff pastry slightly on a floured surface, then cut it into 6 equal squares.
Step 2: Make Filling
In a mixing bowl, beat together the softened cream cheese, granulated sugar, vanilla extract, and lemon zest until the mixture is smooth and creamy.
Step 3: Shape Danishes
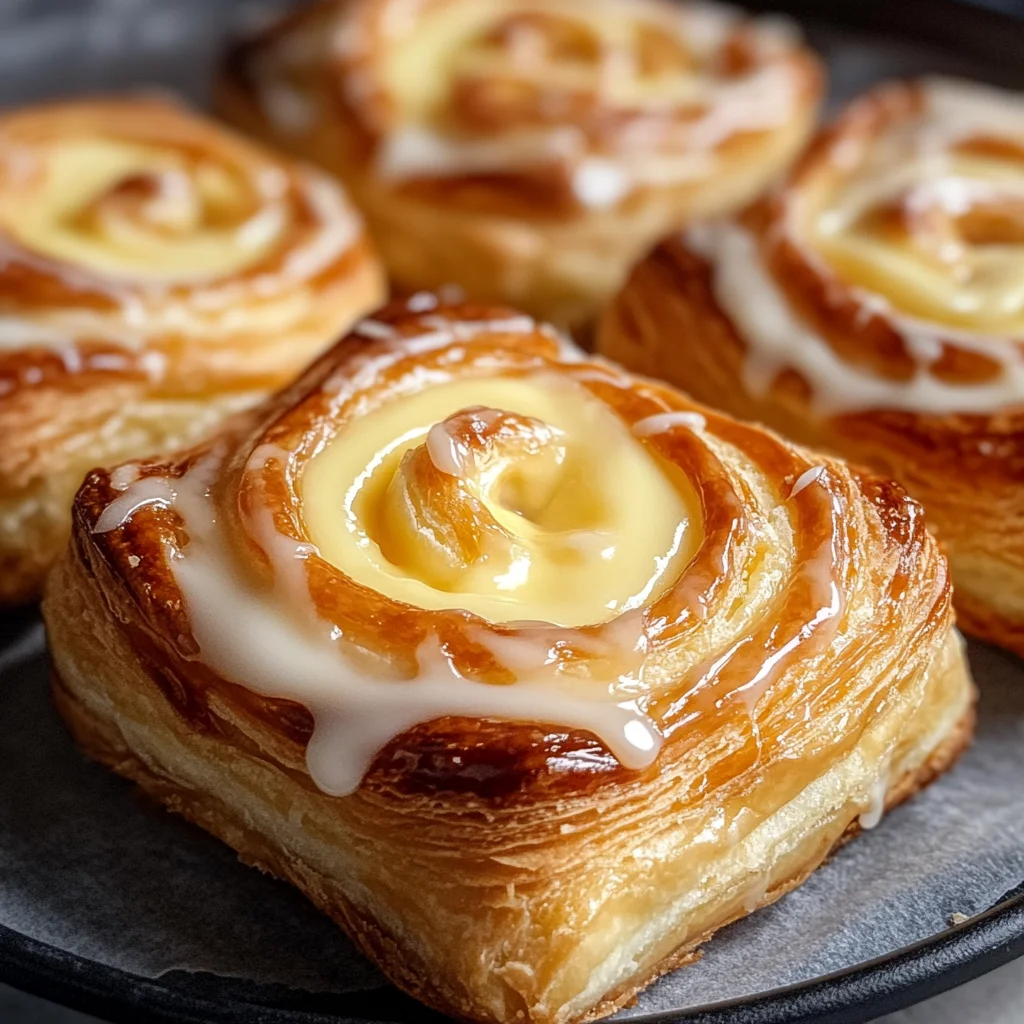
Spoon about 1 tablespoon of the filling into the center of each square of pastry. Fold the corners toward the center, pinching lightly to seal. Alternatively, shape into pinwheels or leave open for a rustic look.
Step 4: Egg Wash
In a small bowl, beat the egg with 1 tablespoon of water. Brush this egg wash over the exposed edges of the pastries for that beautiful golden finish.
Step 5: Bake
Place your shaped pastries on the prepared baking sheet and bake in the preheated oven for 15–18 minutes or until they are puffed up and golden brown.
Step 6: Glaze (Optional)
Once baked and cooled slightly, mix together powdered sugar, milk, and vanilla extract until smooth. Drizzle this glaze over your Cheese Danishes before serving.
Enjoy your freshly made Cheese Danishes warm from the oven!
How to Serve Cheese Danishes
Cheese Danishes are versatile pastries that can be enjoyed in various ways. Whether you’re serving them for breakfast, dessert, or a special occasion, these suggestions will enhance your dining experience.
For Breakfast
- Pair with Fresh Fruit: Serve alongside a selection of seasonal fruits like berries or sliced apples for a refreshing contrast.
- Accompany with Coffee: A hot cup of coffee complements the richness of the danish perfectly, making it an ideal morning treat.
As a Dessert
- Serve with Ice Cream: Warm Cheese Danishes topped with a scoop of vanilla ice cream create a delightful dessert experience.
- Drizzle with Chocolate Sauce: Add a drizzle of chocolate sauce for extra sweetness and visual appeal.
At Parties
- Display on a Dessert Table: Arrange Cheese Danishes on a decorative platter to entice guests at gatherings or celebrations.
- Offer Individual Portions: Cut them into smaller pieces for easy snacking during parties or get-togethers.
How to Perfect Cheese Danishes
Creating the perfect Cheese Danish involves attention to detail. Here are some tips to ensure your pastries turn out delicious every time.
- Use Cold Puff Pastry: Keeping the puff pastry cold before baking helps achieve maximum flakiness.
- Don’t Overfill: Be careful not to overfill the danishes; about 1 tablespoon of filling is just right to prevent overflowing during baking.
- Chill Before Baking: Chill assembled danishes in the fridge for 10 minutes prior to baking for an even flakier texture.
- Adjust Baking Time: Keep an eye on them as ovens vary; bake until they are golden brown and puffed up for the best results.
- Experiment with Flavors: Feel free to add different extracts or spices, such as almond extract or cinnamon, to the filling for unique flavor variations.
Best Side Dishes for Cheese Danishes
Cheese Danishes can be enjoyed alone or paired with complementary side dishes. Here are some excellent options:
- Fresh Salad: A light mixed green salad adds freshness and balances the richness of the danish.
- Yogurt Parfait: Layer yogurt with granola and fruit for a creamy and crunchy contrast that pairs well.
- Smoothie Bowl: A smoothie bowl topped with nuts and seeds enhances breakfast without overpowering the danish.
- Granola Bars: Homemade granola bars provide an easy grab-and-go snack that complements any meal where danishes are served.
- Fruit Compote: A warm berry compote drizzled over cheese danishes adds sweetness and moisture.
- Herbal Tea: A cup of herbal tea offers soothing flavors that work well with sweet pastries, creating a cozy atmosphere.
Common Mistakes to Avoid
To ensure your Cheese Danishes turn out perfectly, avoid these common mistakes.
- Skipping the egg wash: Not brushing the pastry with egg wash can lead to a dull finish. Always apply it to achieve that beautiful golden color.
- Overfilling the danishes: Adding too much filling can cause the pastries to overflow during baking. Stick to about 1 tablespoon of filling per danish for the best results.
- Using warm cream cheese: If your cream cheese is not softened properly, the filling may be lumpy. Allow it to come to room temperature before mixing for a smooth texture.
- Not chilling before baking: Baking directly after assembling can cause the pastry to lose its shape. Chill assembled danishes in the fridge for 10 minutes prior to baking for better puffiness.
- Ignoring oven temperature: Baking at an incorrect temperature can affect cooking time and texture. Always preheat your oven and monitor closely while they bake.
Storage & Reheating Instructions
Refrigerator Storage
- Store Cheese Danishes in an airtight container.
- They will last up to 3 days in the refrigerator.
Freezing Cheese Danishes
- Freeze them in a single layer on a baking sheet before transferring to a freezer-safe container.
- They can be stored in the freezer for up to 2 months.
Reheating Cheese Danishes
- Oven: Preheat to 300°F (150°C) and heat for about 8-10 minutes until warmed through.
- Microwave: Heat one at a time on medium power for about 20-30 seconds, but this may make them less crispy.
- Stovetop: Place on a pan over low heat, covering with a lid for even heating, about 5 minutes.
Frequently Asked Questions
What are Cheese Danishes?
Cheese Danishes are delightful pastries made with flaky dough and filled with sweetened cream cheese, often baked until golden brown.
Can I customize my Cheese Danishes?
Absolutely! You can add fruit jams, fresh fruit, or even chocolate chips to your filling for a unique twist on this classic recipe.
How do I make Cheese Danishes ahead of time?
You can prepare and assemble them in advance, then refrigerate or freeze them before baking. Just remember to adjust bake times if they’re chilled.
Are there any alternatives to puff pastry?
Yes! You can use phyllo dough or homemade pastry dough as substitutes if you’re looking for different textures or flavors.
How many servings does this recipe make?
This recipe yields six delicious Cheese Danishes, perfect for sharing or enjoying throughout the week!
Final Thoughts
Cheese Danishes are not only delicious but also versatile—perfect as a breakfast treat or a sweet dessert. With simple ingredients and easy steps, you can create these delightful pastries at home. Experiment with different fillings and toppings to find your favorite combination!
Cheese Danishes

Indulge in the delightful world of homemade Cheese Danishes—flaky pastries enveloping a luscious sweet cream cheese filling. These treats are perfect for breakfast, brunch, or as a satisfying dessert. With their crispy golden exterior and creamy center, Cheese Danishes are sure to impress family and friends alike. Customize them with your favorite fruit jams or toppings for a personal touch. Easy to make using store-bought puff pastry, they come together quickly and can be enjoyed warm from the oven or saved for later. Whether you’re hosting a special gathering or simply treating yourself, these pastries are an irresistible choice.
- Prep Time: 20 minutes
- Cook Time: 18 minutes
- Total Time: 38 minutes
- Yield: 6 servings 1x
- Category: Dessert
- Method: Baking
- Cuisine: European
Ingredients
- 1 sheet puff pastry
- 8 oz cream cheese
- ¼ cup granulated sugar
- 1 teaspoon vanilla extract
- ½ teaspoon lemon zest (optional)
- 1 egg (for egg wash)
- 1 tablespoon water
Instructions
- Preheat your oven to 400°F (200°C) and line a baking sheet with parchment paper.
- Roll out the thawed puff pastry slightly on a floured surface and cut into 6 equal squares.
- In a bowl, mix softened cream cheese, sugar, vanilla extract, and lemon zest until smooth.
- Place about 1 tablespoon of filling in the center of each square, fold corners toward the center, and pinch to seal.
- Brush with an egg wash made from beaten egg mixed with water.
- Bake for 15-18 minutes until golden brown.
Nutrition
- Serving Size: 1 Danish (85g)
- Calories: 270
- Sugar: 12g
- Sodium: 210mg
- Fat: 16g
- Saturated Fat: 9g
- Unsaturated Fat: 6g
- Trans Fat: 0g
- Carbohydrates: 27g
- Fiber: 1g
- Protein: 4g
- Cholesterol: 55mg